Seamless Color Change In the Round or Mid Row

If you are working a project in the round and you need to change colors, or you just need to change colors mid row, I am going to teach you the method I use to get the most seamless transition between colors.
Acronyms (US Terms)
Sl St - Slip Stitch
St - Stitch
Ch - Chain
HDC - Half Double Crochet
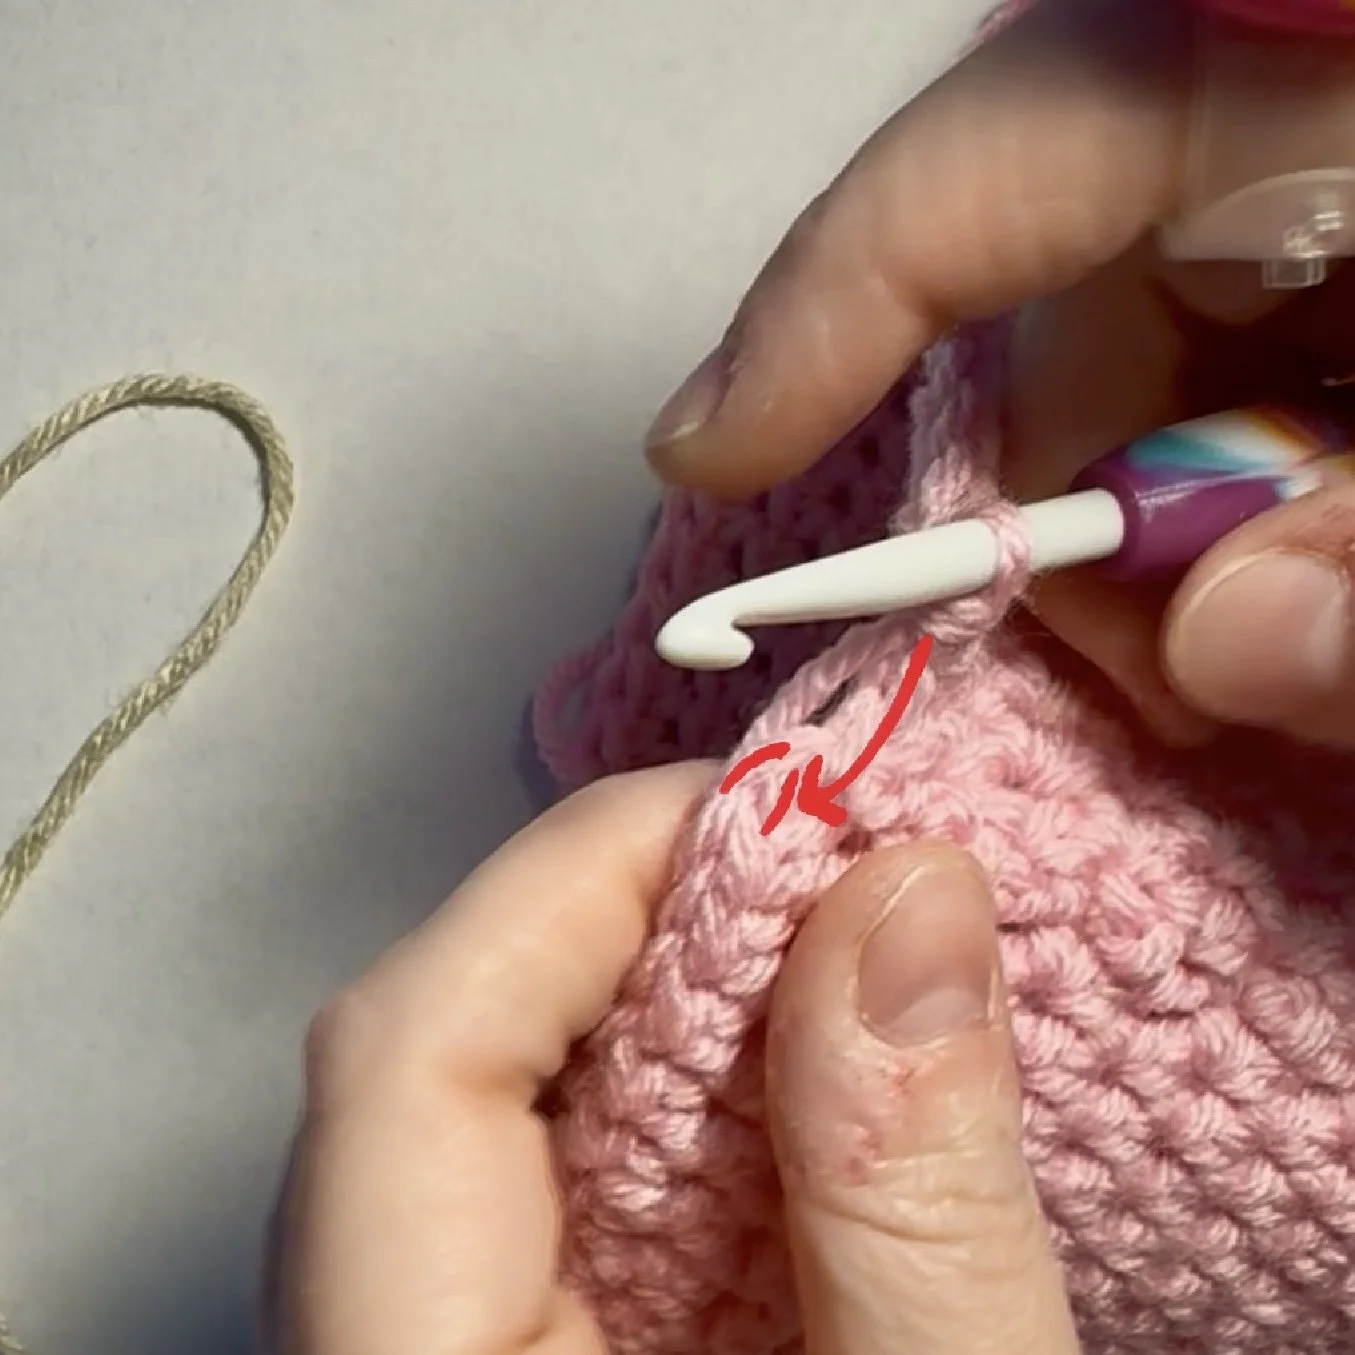
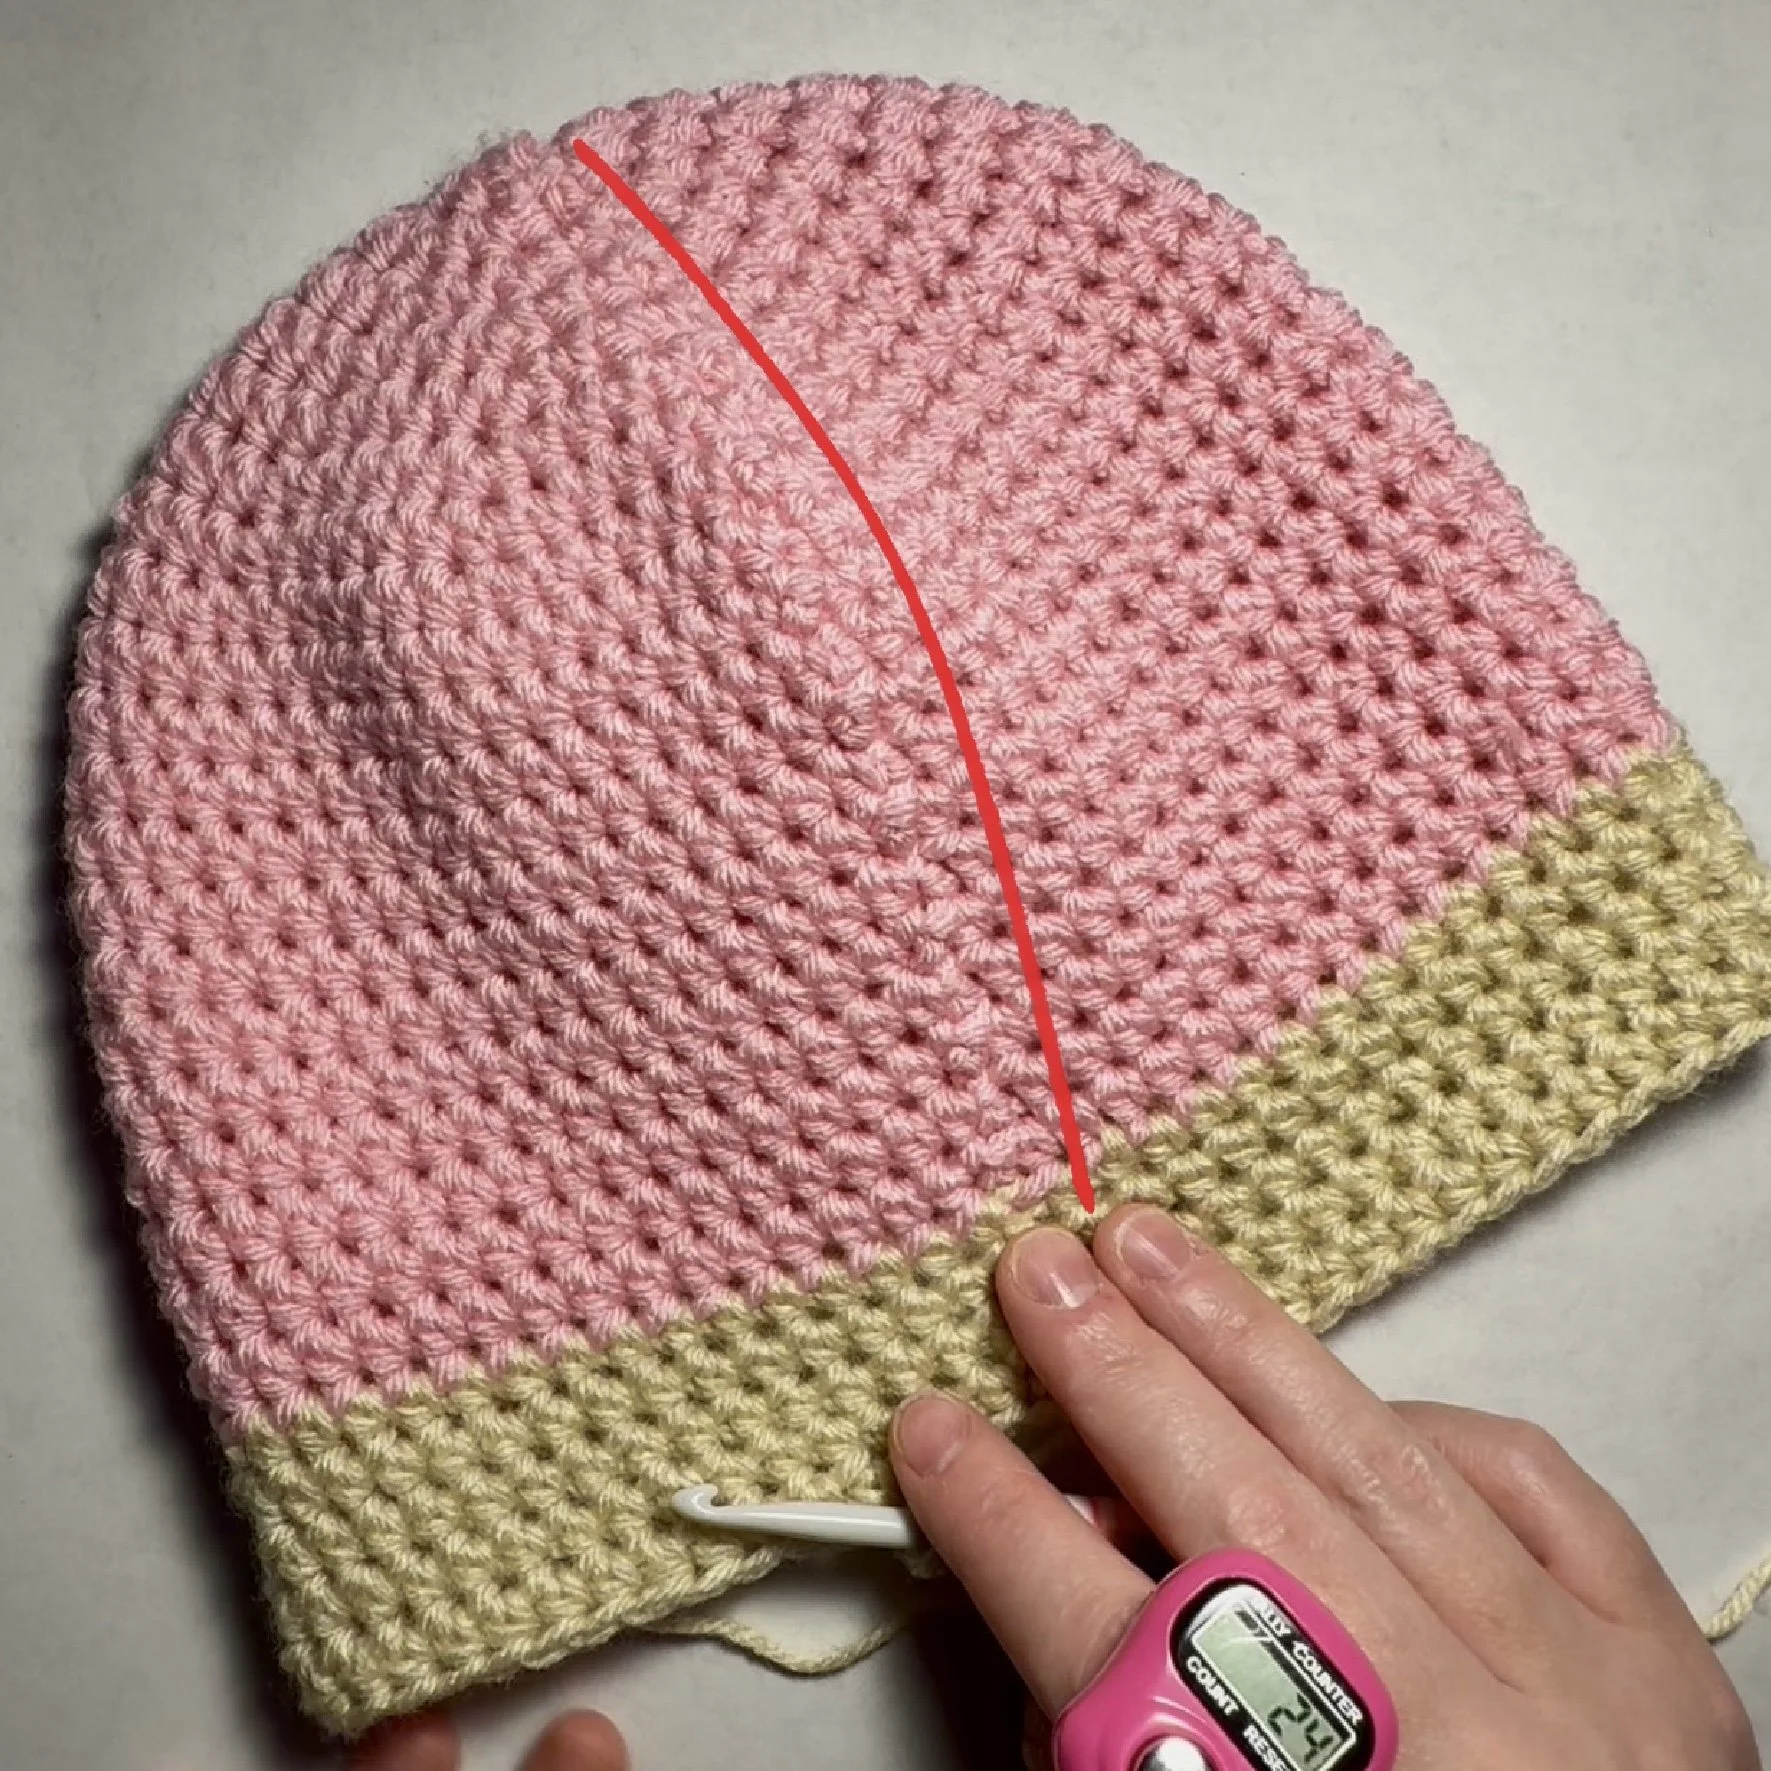
Color 1- Where to Place the Last Slip Stitch before the Color Change
In this image, I am displaying where I am going to place a Sl St to close the round I am working on.
I have reached the end of my round for the current color I have been using.
I am going to insert my hook into first St of my current round.
I will not create a Sl St just yet.
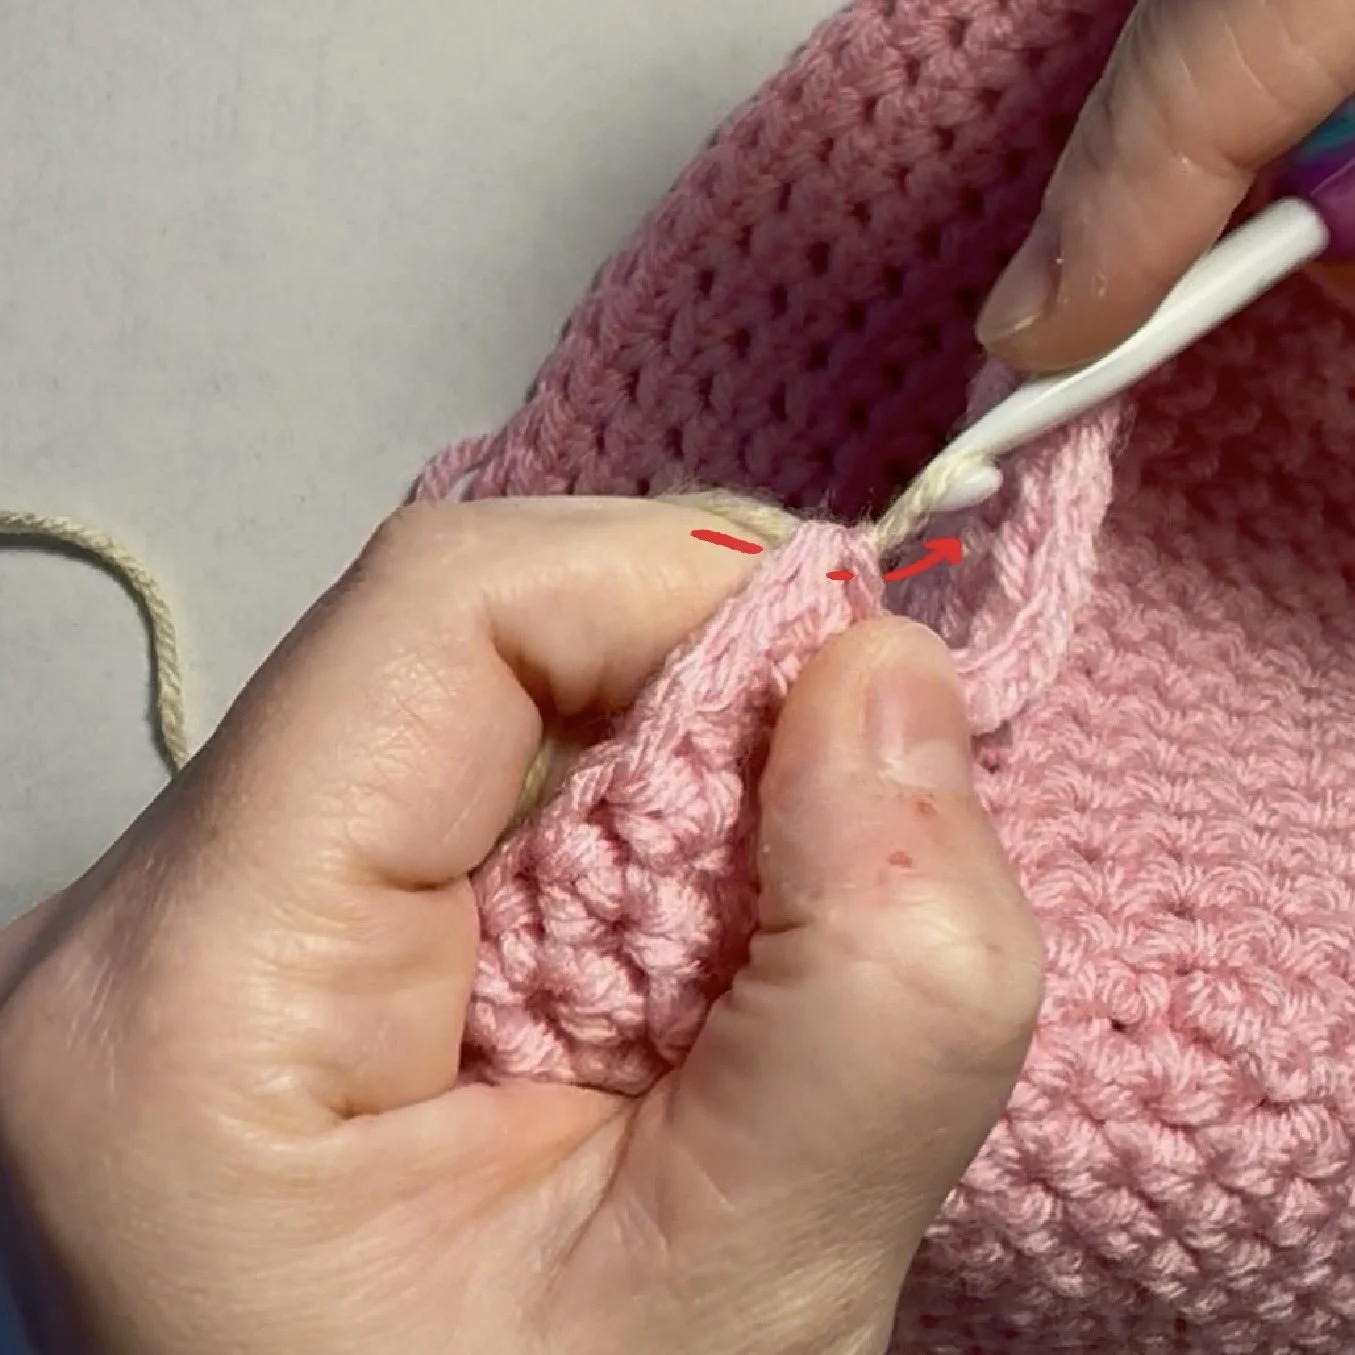
Color 1 - Placing the Last Slip Stitch before the Color Change
In this image, I am displaying the view I have from the top of the piece as I am placing my hook in the first St.
Arrow A is pointing to the next St.
In this particular pattern, I am placing a Sl St in the first HDC of the current round I am working, because I am starting the next row with a new color.
If you were mid row starting a new color, you would send your hook through whatever stitch you would normally go into next.
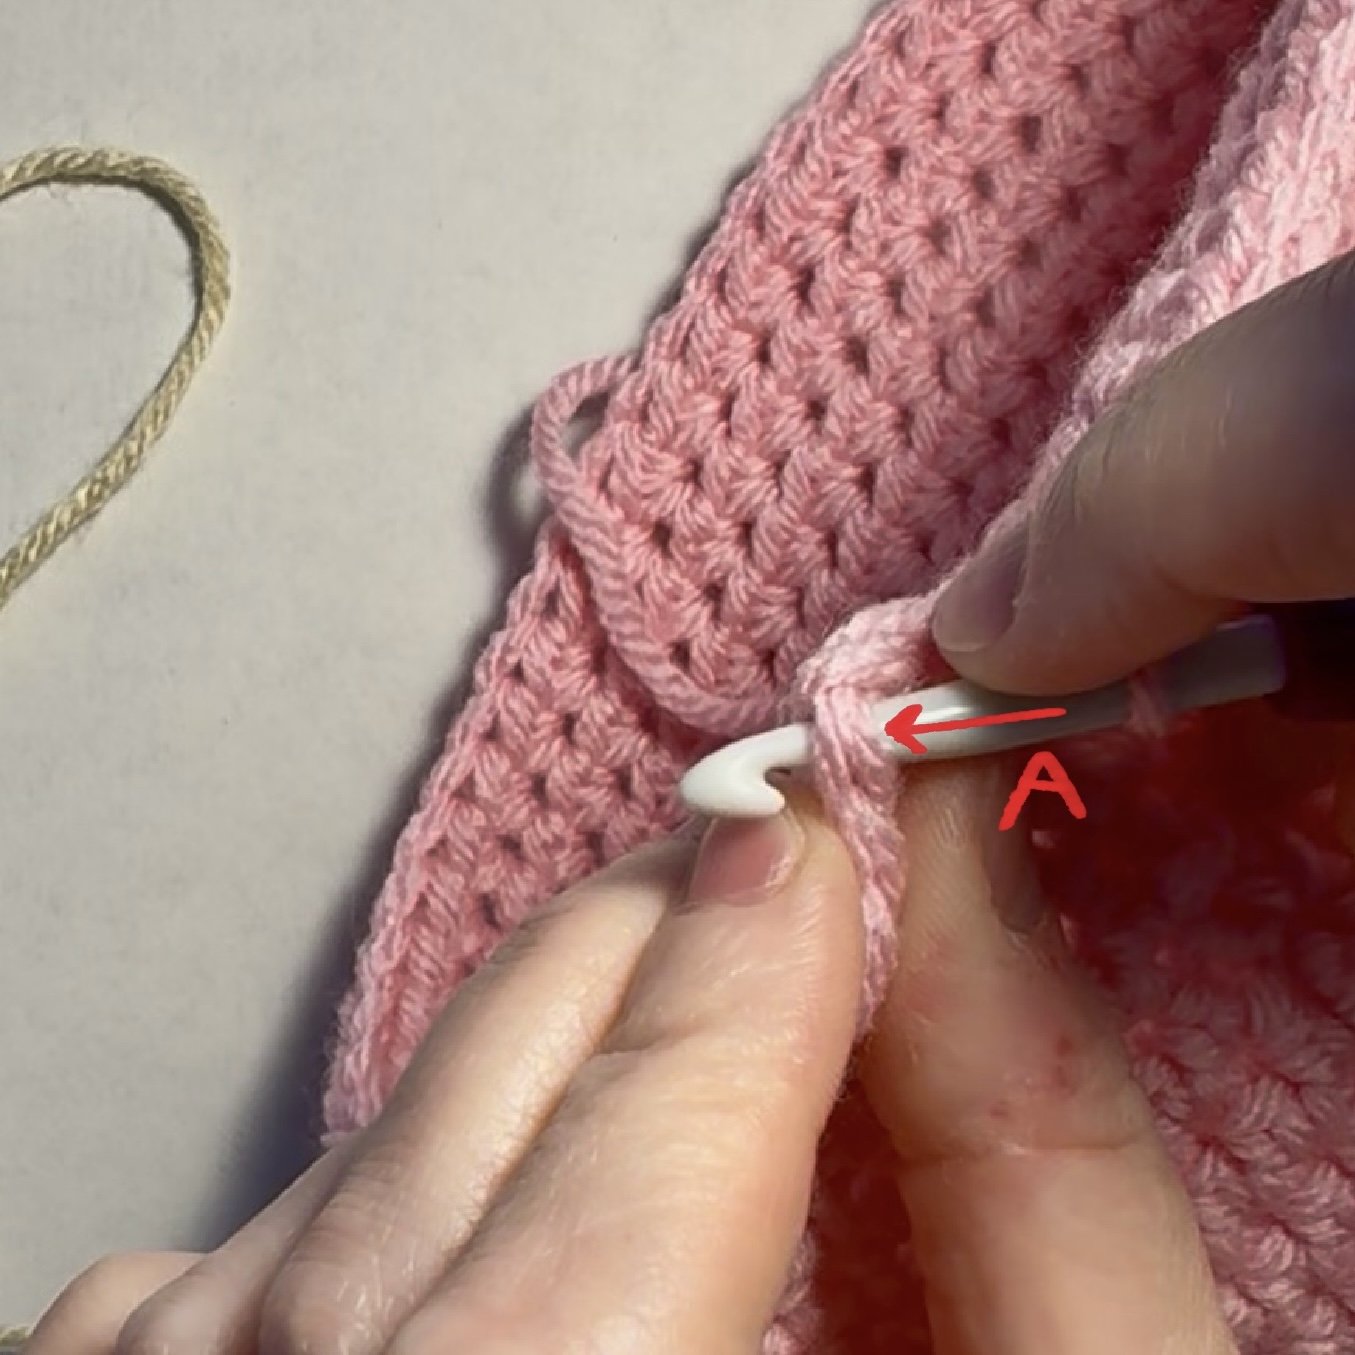
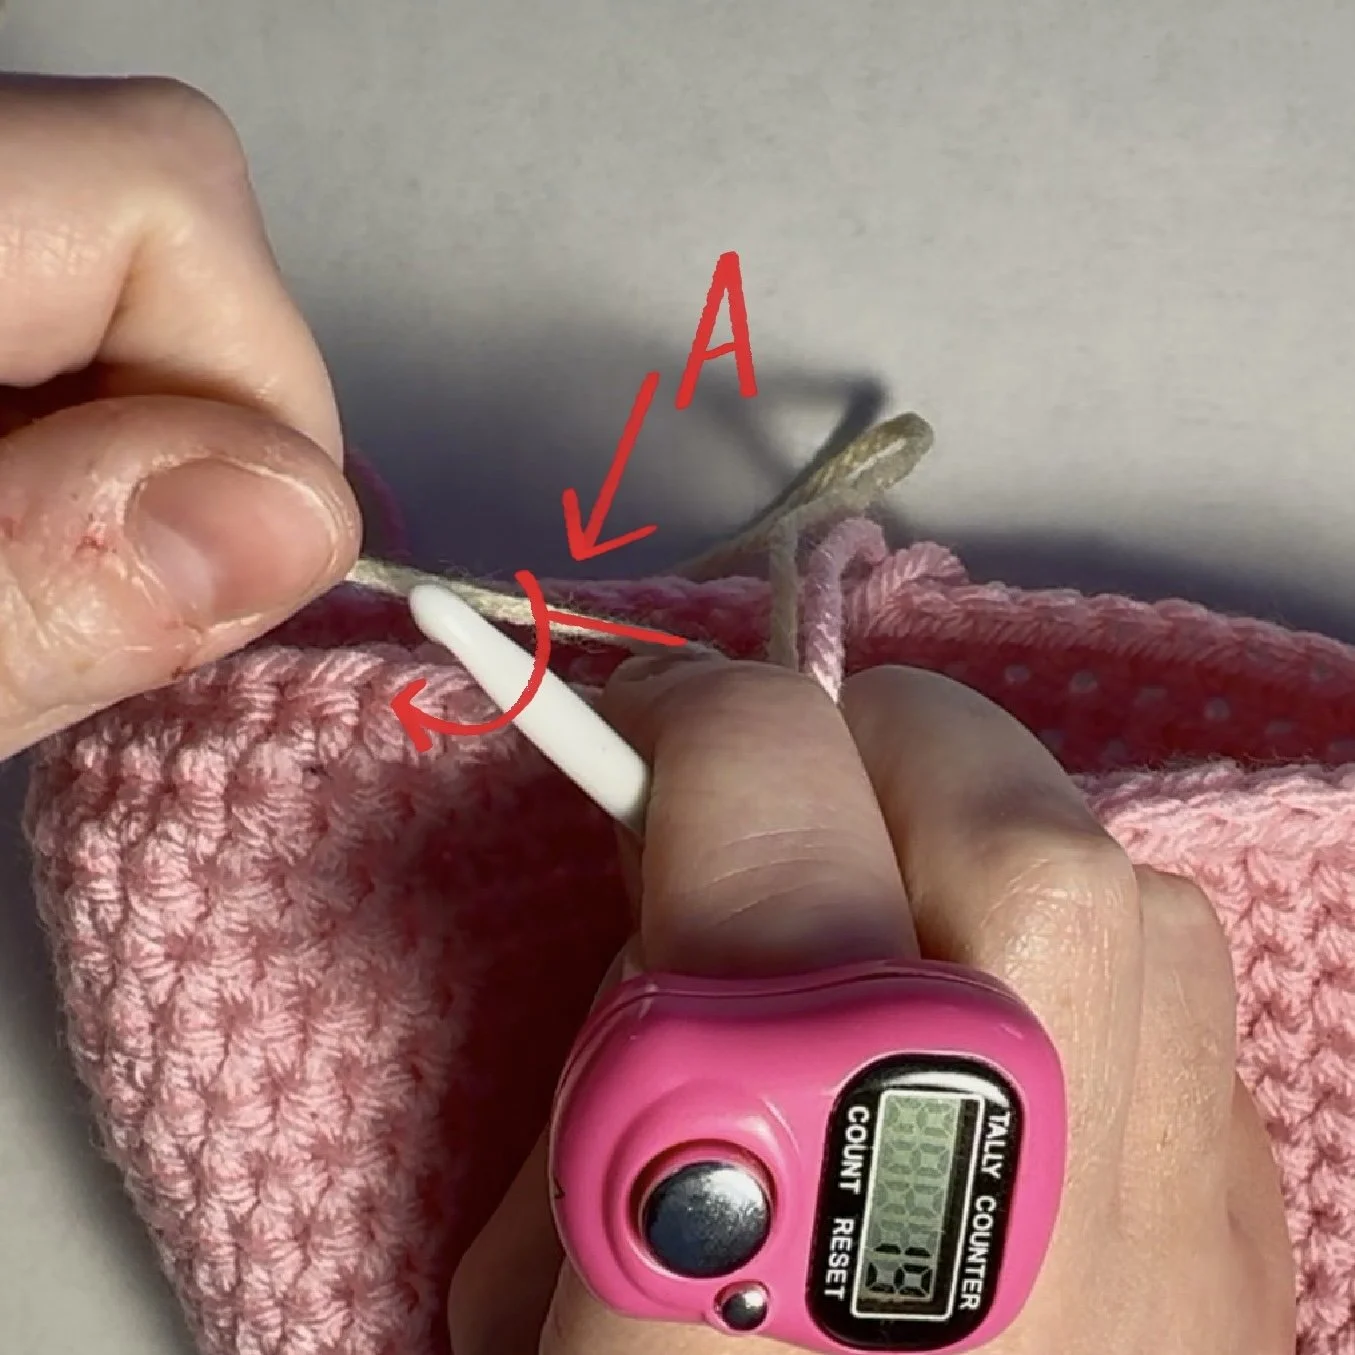
Color 2 - Grabbing your new color
In this image, I am displaying what my hook looks like after I insert my hook into the next stitch and wrap my new color around my hook.
Instead of using the same color as my last stitch, and the stitch I’ve inserted my hook into to finish my Sl St, I will switch to my new color.
It’s important to note that I am not making a slip knot with my new color. I am simply wrapping my new color onto the hook and leaving a long tail.
The reason I am just hooking the yarn and not using a Slip Knot, is so I can pull both color tails tight once I start weaving in the ends later.
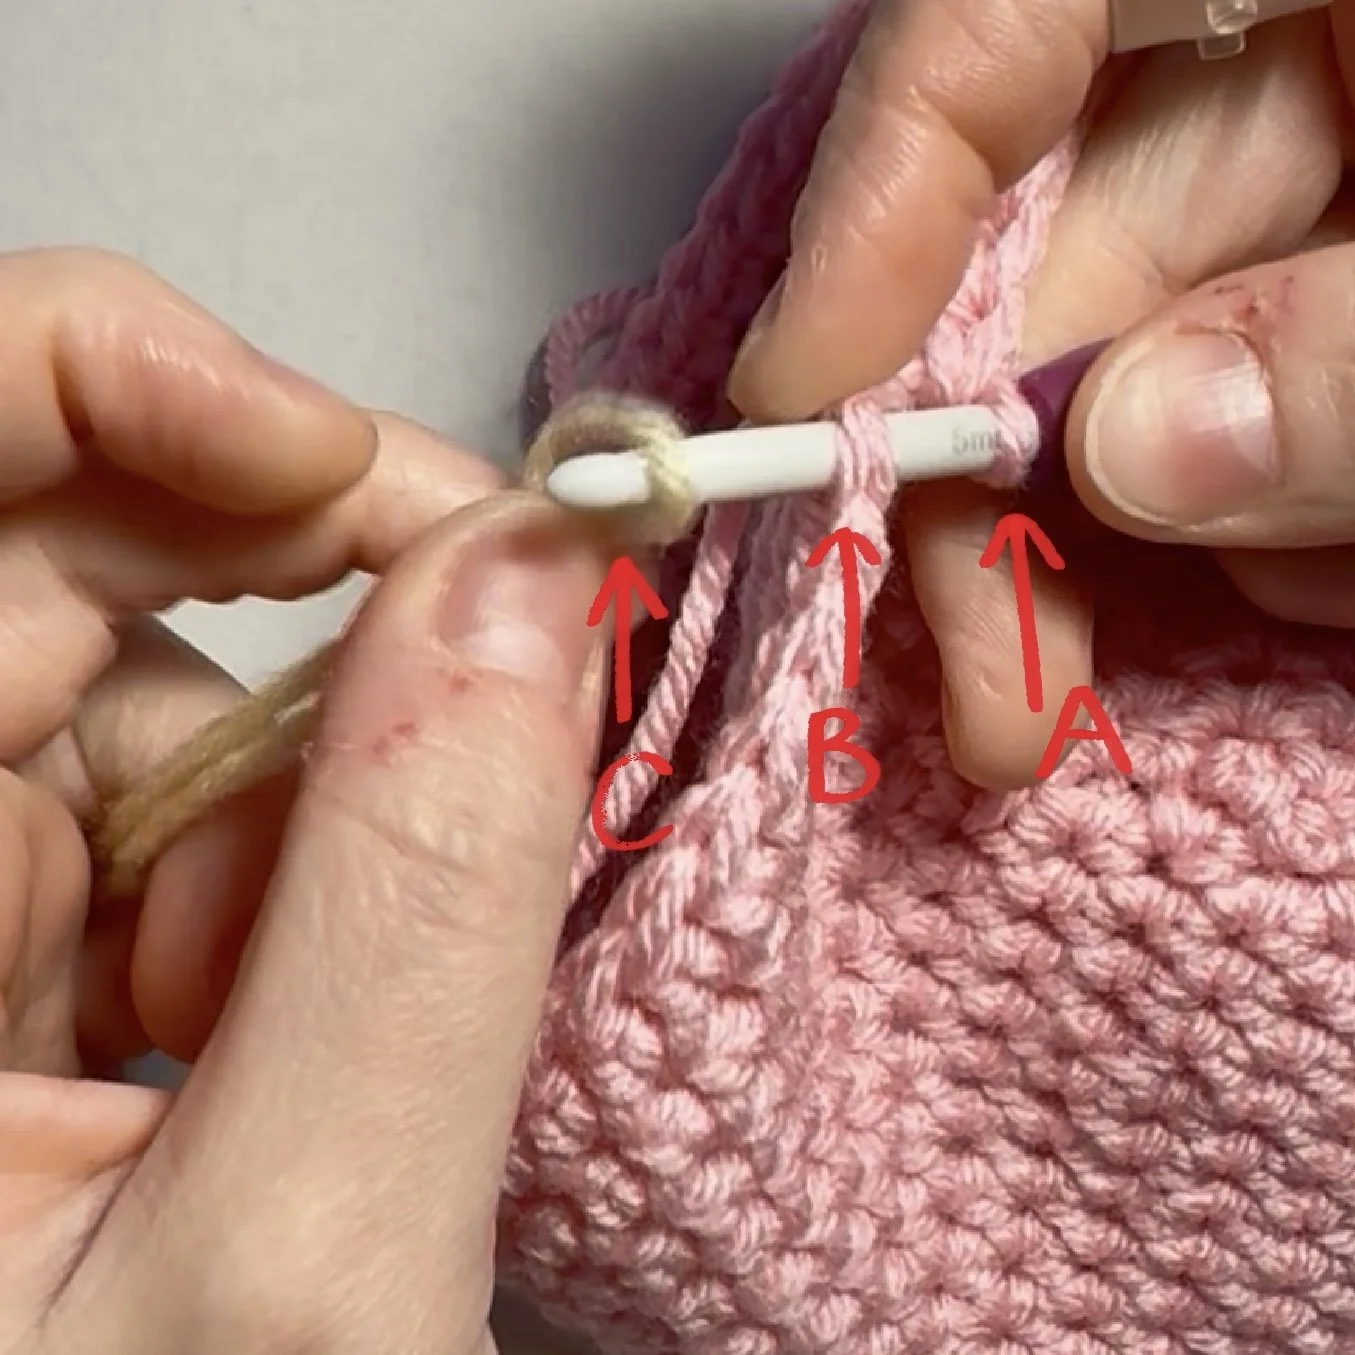
Color 2 - Pulling Your New Color Through Your Loops
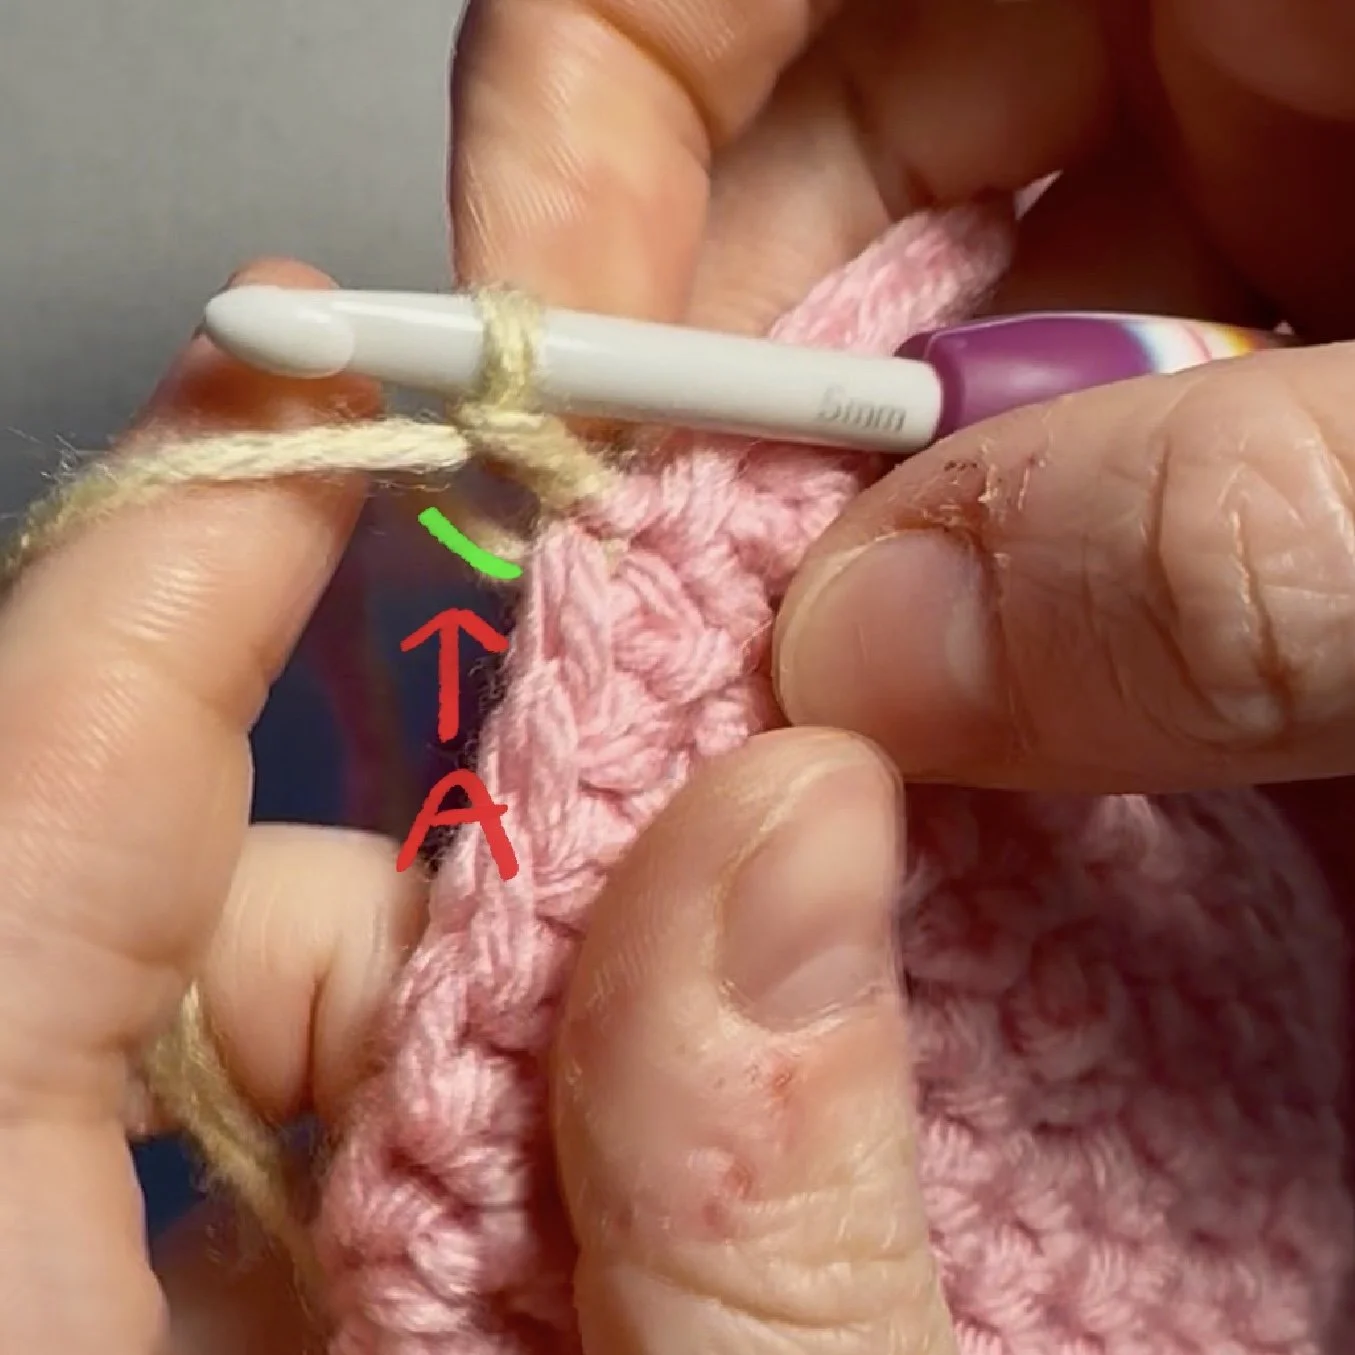
In this image, I am displaying the different parts of the Sl St.
Arrow A is pointing to the first loop on my hook.
This is the loop of my most previously made HDC.
Arrow B is pointing to the St I have inserted my hook into
This is the first St of my current round, but can represent whatever the next ST of my pattern is.
Arrow C is pointing to the loop of my new color
I am going to pull C through both B and A
Color 2 - Pulling Your New Color Through Your Loops
In this image, I am displaying what it looks like once I have pulled my new color through both the St and loop of my previous color, to create a Sl St.
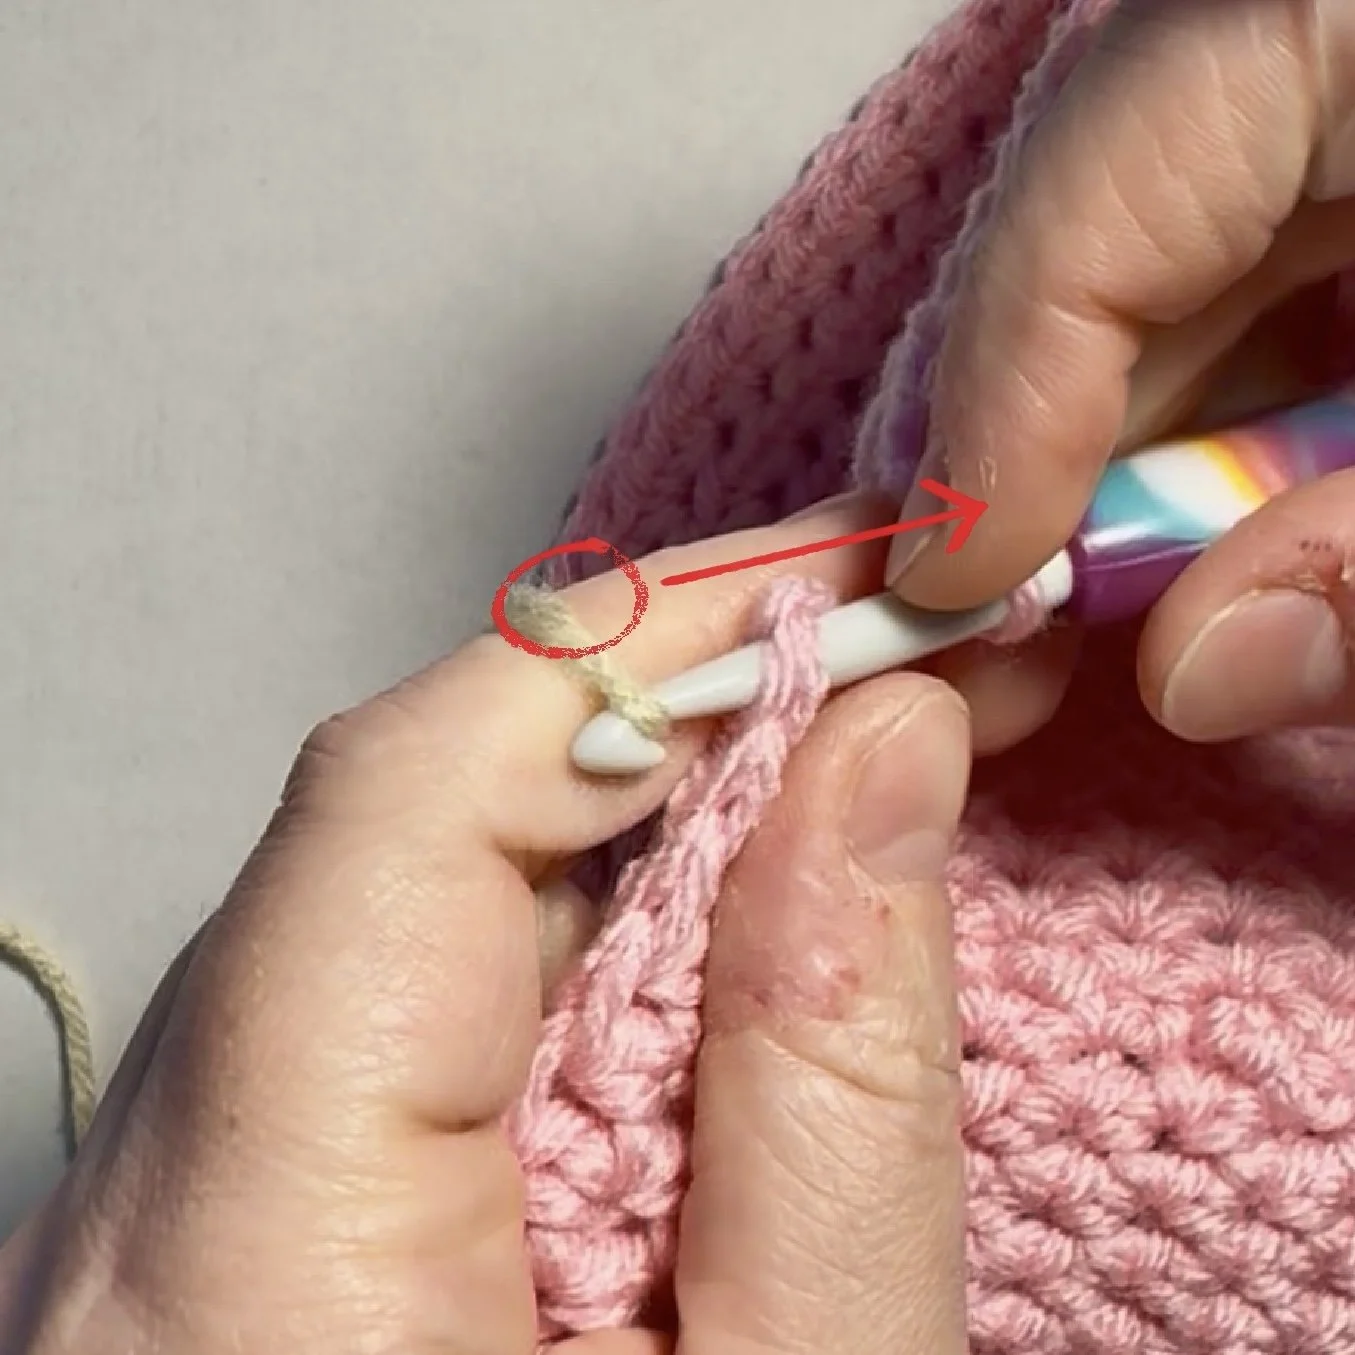
Color 2 - Beginning With Your New Color
In this image, I am displaying how I am going to begin using my new color.
Once I have that new color pulled through, I am going to start Crocheting with that new color just as I normally would.
Arrow A is pointing to the strand of my new color which I will wrap around my hook to create my starting Ch.
The tail of that new color is draped down next to the ending tail of my previous color.
Color 2 - Creating My Starting Chain
In this image, I am displaying what that color transition will look like upon starting.
Arrow A is pointing to the tail of my new color
At this point, I feel it is safe to cut a long tail of the previous color I was using.
That will rest with the beginning tail of our new color, and I will weave those in at the end.
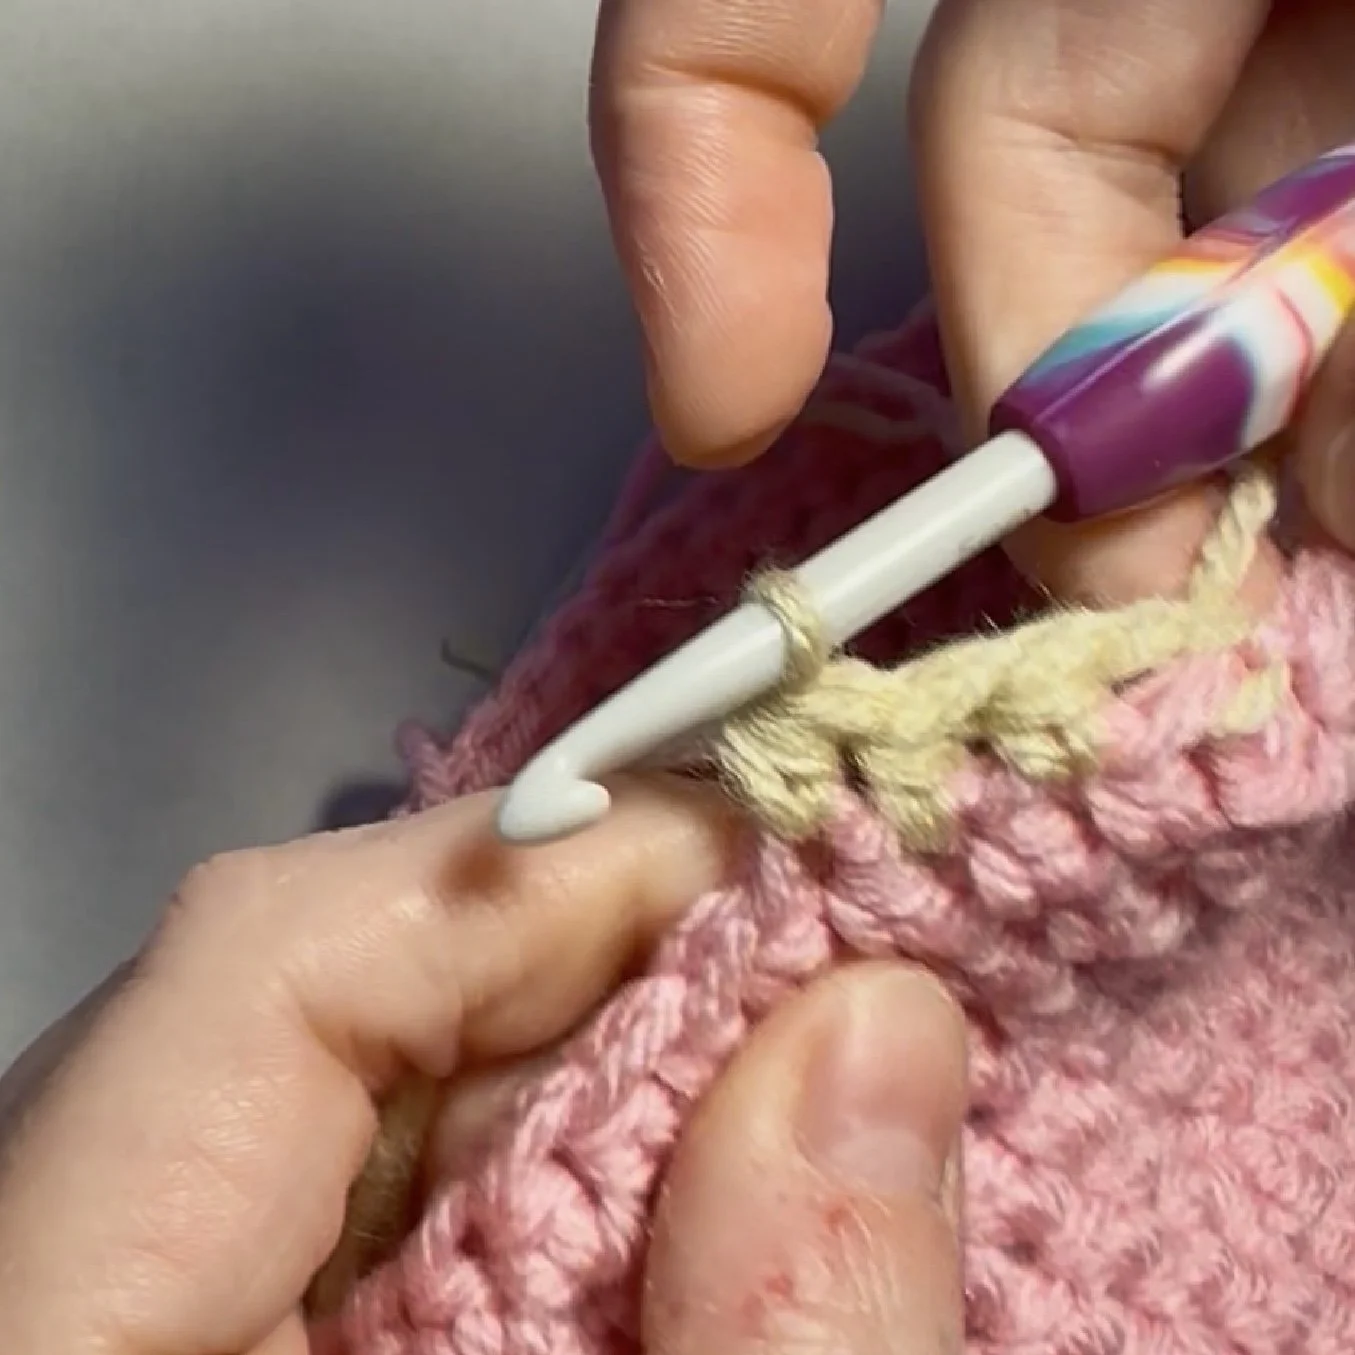
Color 2 - Proceeding With the Pattern Using the New Color
In this image, I am displaying what the color change is looking like once I have completed a few more stitches.
I am still holding the beginning tail tight and will continue to do so for a few more St’s to ensure the tension of the first row with my new color remains consistent.
I will let that tail go after about 10 St’s with the new color.
Both Colors - Presentation After Multiple Rows
In this image, I am displaying how the color change looks after I have crocheted several rows with my new color.
As you can see, I go directly from one color to the next with no Visible transition.